
9.10: Text Boxes
- Page ID
- 46570
\( \newcommand{\vecs}[1]{\overset { \scriptstyle \rightharpoonup} {\mathbf{#1}} } \) \( \newcommand{\vecd}[1]{\overset{-\!-\!\rightharpoonup}{\vphantom{a}\smash {#1}}} \)\(\newcommand{\id}{\mathrm{id}}\) \( \newcommand{\Span}{\mathrm{span}}\) \( \newcommand{\kernel}{\mathrm{null}\,}\) \( \newcommand{\range}{\mathrm{range}\,}\) \( \newcommand{\RealPart}{\mathrm{Re}}\) \( \newcommand{\ImaginaryPart}{\mathrm{Im}}\) \( \newcommand{\Argument}{\mathrm{Arg}}\) \( \newcommand{\norm}[1]{\| #1 \|}\) \( \newcommand{\inner}[2]{\langle #1, #2 \rangle}\) \( \newcommand{\Span}{\mathrm{span}}\) \(\newcommand{\id}{\mathrm{id}}\) \( \newcommand{\Span}{\mathrm{span}}\) \( \newcommand{\kernel}{\mathrm{null}\,}\) \( \newcommand{\range}{\mathrm{range}\,}\) \( \newcommand{\RealPart}{\mathrm{Re}}\) \( \newcommand{\ImaginaryPart}{\mathrm{Im}}\) \( \newcommand{\Argument}{\mathrm{Arg}}\) \( \newcommand{\norm}[1]{\| #1 \|}\) \( \newcommand{\inner}[2]{\langle #1, #2 \rangle}\) \( \newcommand{\Span}{\mathrm{span}}\)\(\newcommand{\AA}{\unicode[.8,0]{x212B}}\)
Learning Outcomes
- Insert text boxes.
Another type of edit you may wish to perform on a presentation slide is to add a text box. Text boxes are used for emphasis or as supplements to the standard layout space. For example, perhaps you want to draw attention to a specific feature on an image or in data. An easy way to do this is with a text box.
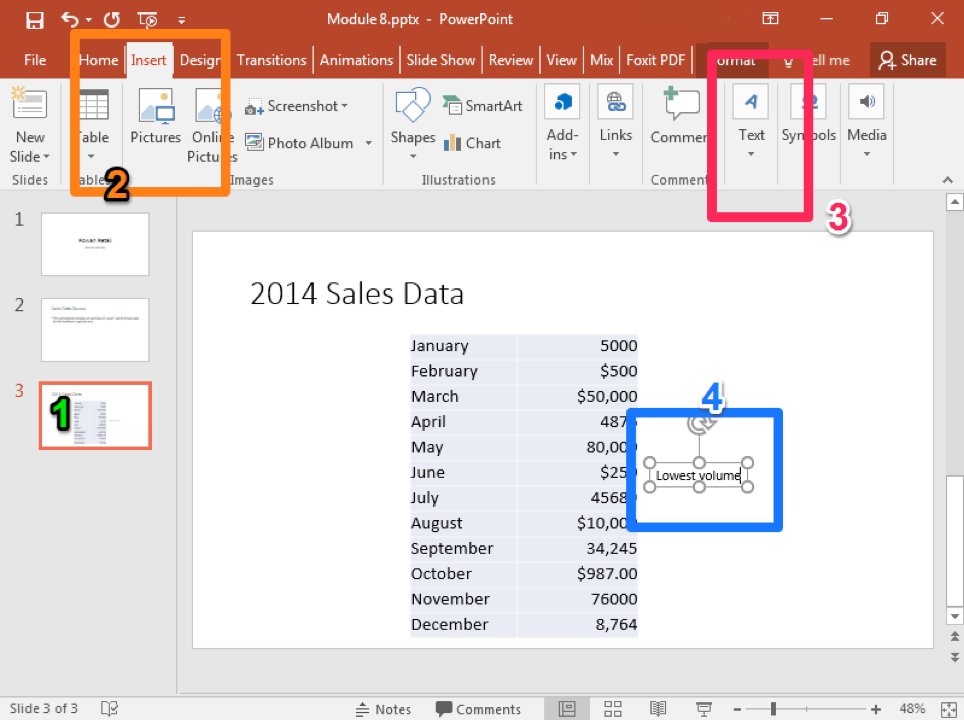
- Select the slide you wish to edit with a text box.
- Click on the Insert Tab
- Select Text Box from the menu in the Text group of the ribbon
- Click on the slide to place your text box.
- Enter your text.
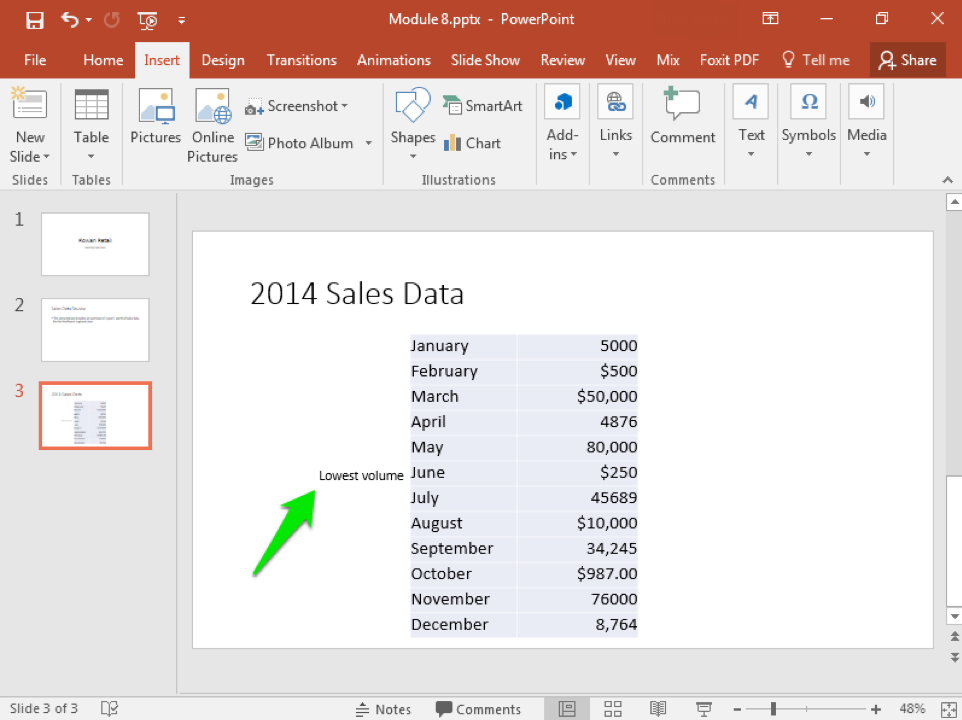
After placing your text box, you can move it by clicking on the text box and dragging it to a new location. On the screenshot below the text box has been moved to the left side of the table, from the right.
Contributors and Attributions
CC licensed content, Original
- Text Boxes. Authored by: Shelli Carter. Provided by: Lumen Learning. License: CC BY: Attribution