
8.18: Creating and Organizing Presentations
- Page ID
- 46210
Learning OUtcomes
- Create and save a new presentation
- Add, delete, and move slides
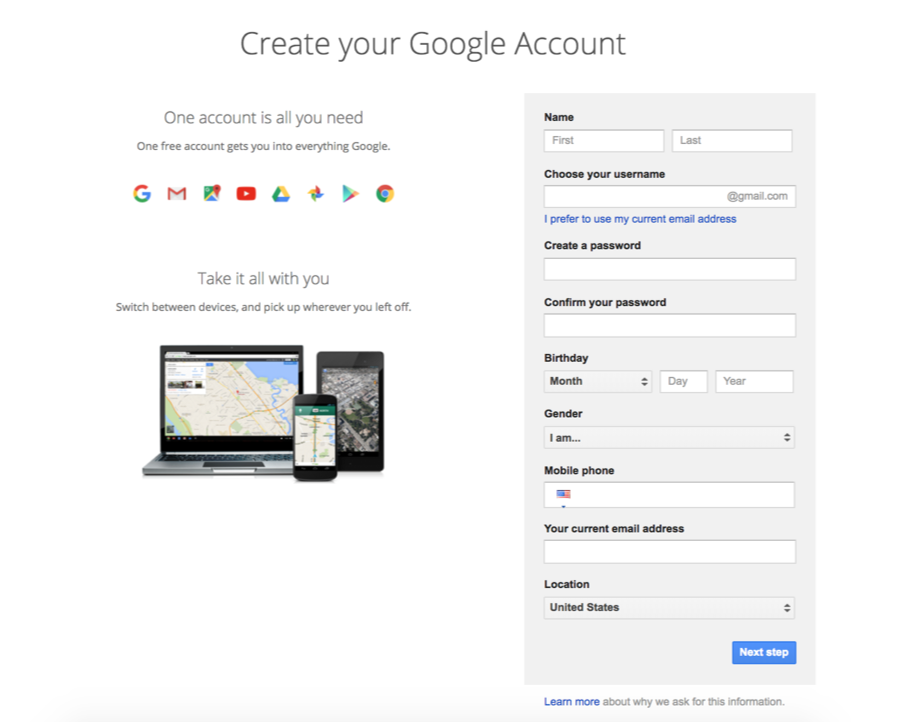
Googles Slides is free to use, but to do so requires a Google account. If you don’t already have a Google account (i.e., a gmail address, Google Drive or Google Calendar), you will need to create one in order to use Google Slides. To establish a Google account, search for “Google account” or go directly to the Google Account sign up page.
New Presentations
To start a new presentation, search for “Google slides” or go to https://www.google.com/slides/about/.
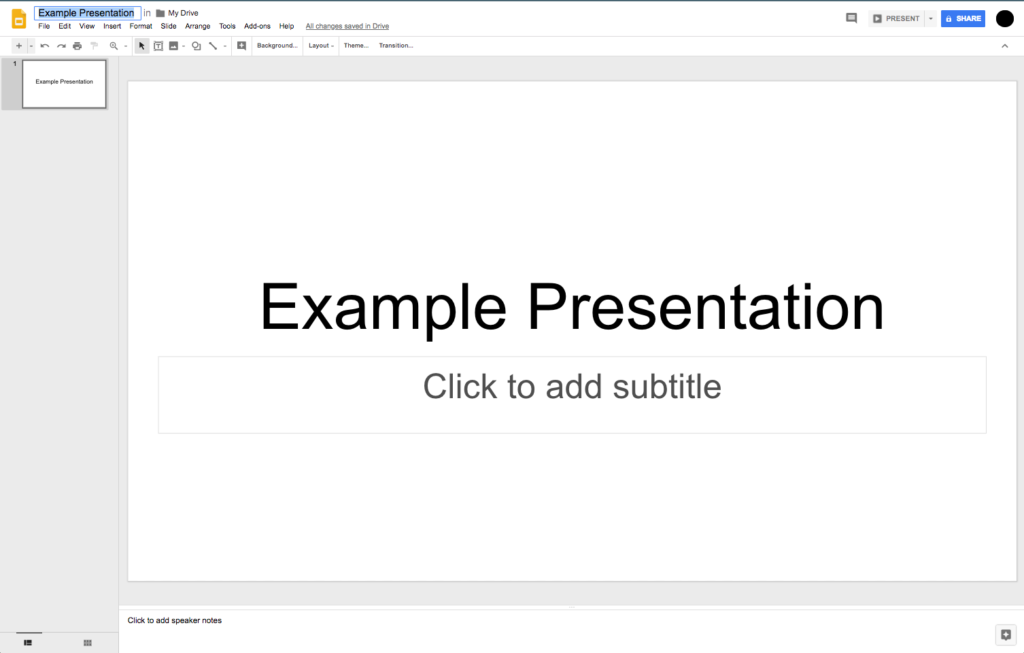
See Figure 2 for a visual of the application’s opening view. You can start a new blank presentation or choose from a number of existing, editable presentations or templates. If you recently viewed a shared presentation or created a presentation, you would see it listed under Recent Presentations.
To start a new presentation, click on the plus (+) sign in the Blank Presentation box.

Within Google Slides, as in all Google applications, your work is saved automatically. Until you name your presentation, it will save as Untitled presentation.
To title your presentation, click in the [Untitled Presentation] box and type your desired title. By default, Google slides will insert the text from the title box as the title; you can accept that or delete and enter an alternate title (see Figure 3).
Practice Question
Organizing Slides
There are multiple options for adding slides:
- Select “+” (New slide) from the second menu line. To select a specific slide layout, use the dropdown menu to the right of the slide to add a slide that best matches the content for that slide
- Use the New slide shortcut: Ctrl+M
- From the Insert dropdown, select New slide (Ctrl+M) Select Insert > new slide
- Select Slide > Duplicate slide, which will copy the slide that’s currently highlighted in the thumbnail section in the left column of the screen
- Right click in a slide in the thumbnail sidebar and select New slide or Duplicate slide
To delete a slide, right click on the thumbnail image and press delete OR delete from the Slide dropdown: Slide > Delete slide. If you delete a slide in error, don’t panic! Click on the Undo arrow or use the Ctrl+Z shortcut.
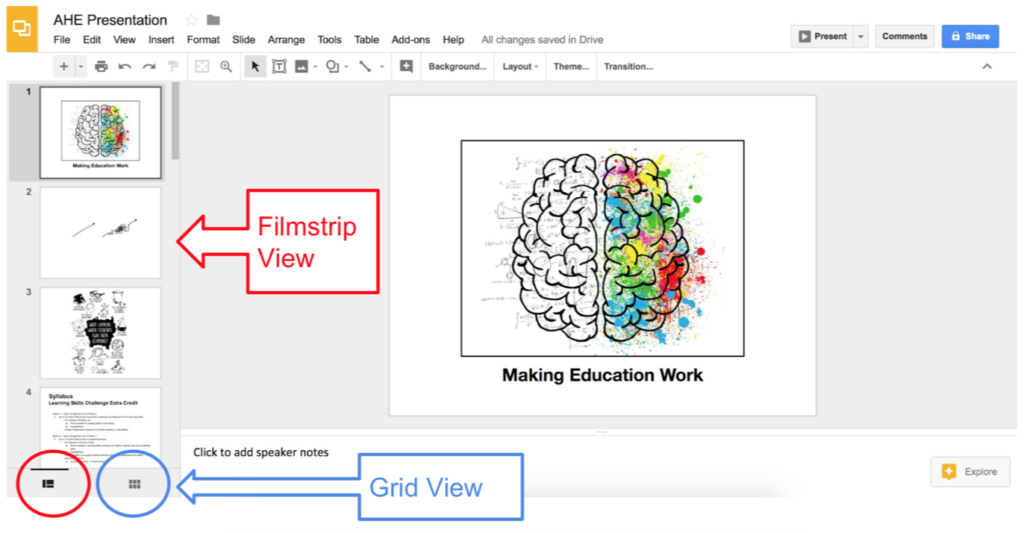
To move a slide, click on the slide in the sidebar—this will highlight the thumbnail—and drag it to where you want it to appear. A second sorting option is to shift from the default (“Filmstrip”) view to Grid view—View > Grid view—and use a select, drag and drop method. You can toggle between the default and Grid view by selecting the icons at the bottom of the thumbnail window.
- Creating and Organizing Presentations. Authored by: Nina Burokas. Provided by: Lumen Learning. License: CC BY: Attribution