Business LibreTexts

9.11: Images and Clip Art

  • Page ID
    46571
  • \( \newcommand{\vecs}[1]{\overset { \scriptstyle \rightharpoonup} {\mathbf{#1}} } \) \( \newcommand{\vecd}[1]{\overset{-\!-\!\rightharpoonup}{\vphantom{a}\smash {#1}}} \)\(\newcommand{\id}{\mathrm{id}}\) \( \newcommand{\Span}{\mathrm{span}}\) \( \newcommand{\kernel}{\mathrm{null}\,}\) \( \newcommand{\range}{\mathrm{range}\,}\) \( \newcommand{\RealPart}{\mathrm{Re}}\) \( \newcommand{\ImaginaryPart}{\mathrm{Im}}\) \( \newcommand{\Argument}{\mathrm{Arg}}\) \( \newcommand{\norm}[1]{\| #1 \|}\) \( \newcommand{\inner}[2]{\langle #1, #2 \rangle}\) \( \newcommand{\Span}{\mathrm{span}}\) \(\newcommand{\id}{\mathrm{id}}\) \( \newcommand{\Span}{\mathrm{span}}\) \( \newcommand{\kernel}{\mathrm{null}\,}\) \( \newcommand{\range}{\mathrm{range}\,}\) \( \newcommand{\RealPart}{\mathrm{Re}}\) \( \newcommand{\ImaginaryPart}{\mathrm{Im}}\) \( \newcommand{\Argument}{\mathrm{Arg}}\) \( \newcommand{\norm}[1]{\| #1 \|}\) \( \newcommand{\inner}[2]{\langle #1, #2 \rangle}\) \( \newcommand{\Span}{\mathrm{span}}\)\(\newcommand{\AA}{\unicode[.8,0]{x212B}}\)

    Learning Objectives

    • Add images and clip art

    To add an image, insert a new slide. For our purposes, it is helpful to start with a Title and Content slide, but remember you can always change the format of your slide later.

    Method 1

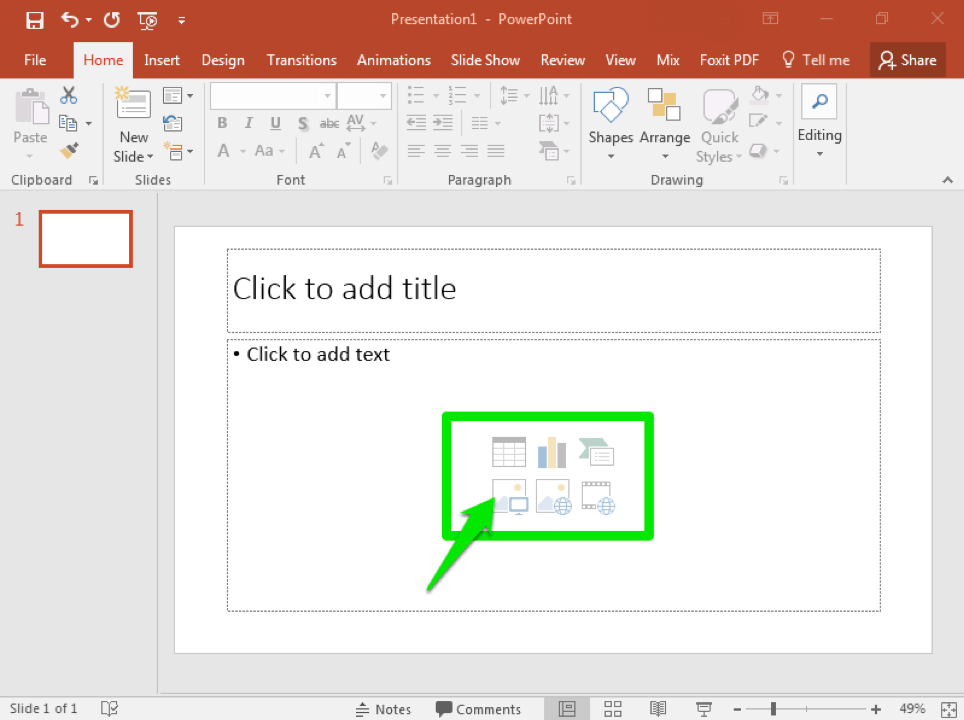
    1. Click inside the content box so that it becomes the active portion of the slide.
    2. If you hover your mouse over any of the icons shown in the green box below, you will see a description of what type of object you can insert.
    3. Select Pictures, the bottom left icon.
      A blank Microsoft Powerpoint is open. The content box on the first slide is highlighted by a green box. There is a green arrow pointing to the picture icon in the content box.
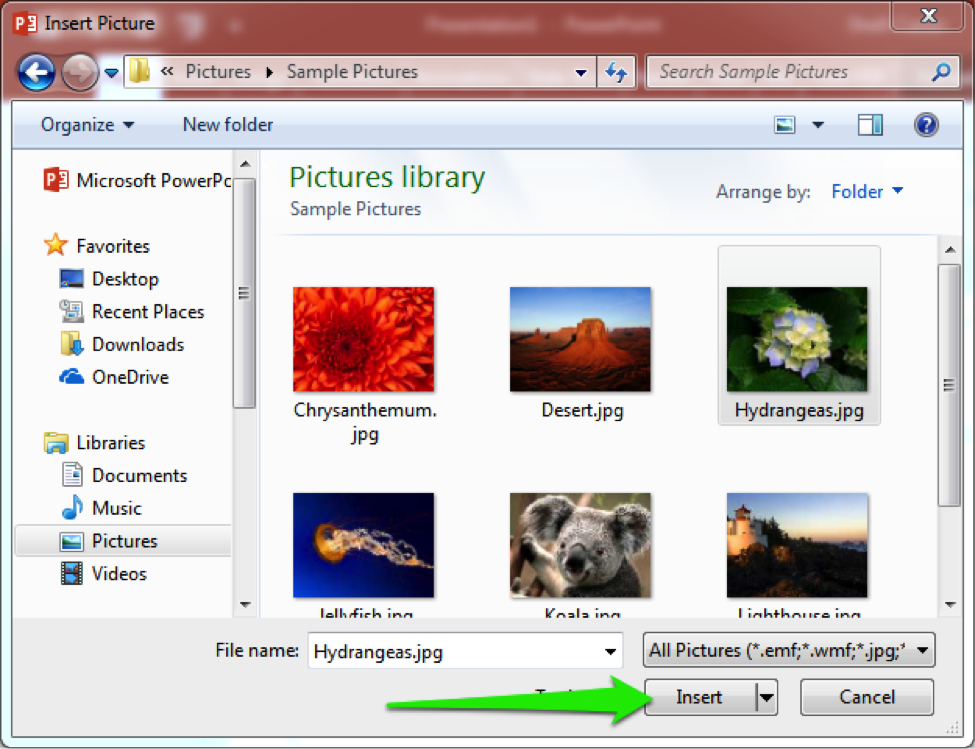
    4. By default, your computer’s Pictures folder will pop up. If your images are stored elsewhere, navigate to the appropriate location to find your image.
    5. Click on the picture or image you wish to insert.
    6. Click Insert
      A basic pictures library folder has opened.

    Your image will be automatically sized by PowerPoint. You can then type in a title, add a text box, or even resize your image if you wish.

    A Microsoft Powerpoint is open with an image of hydrangea flower on the first and only slide.

    Method 2

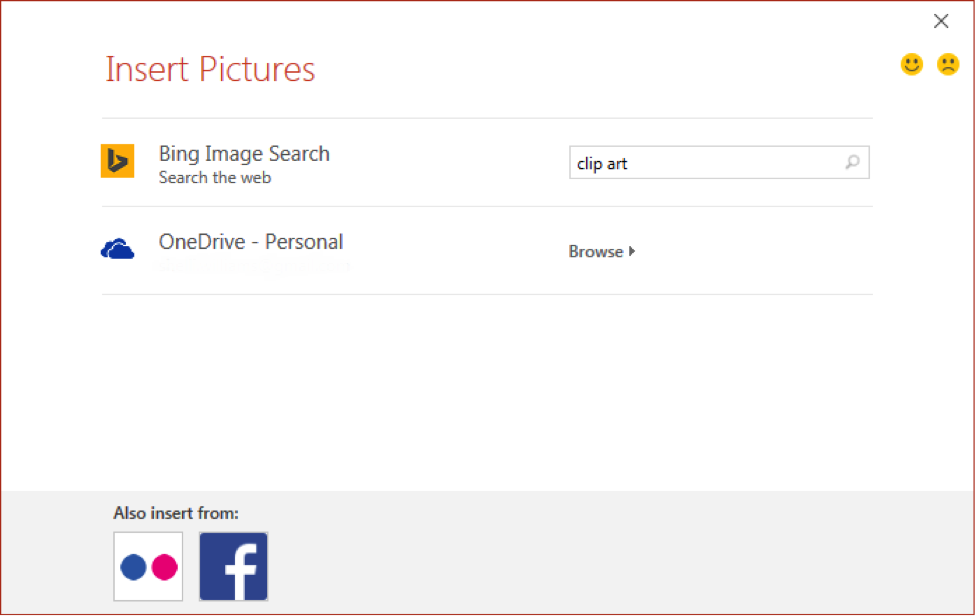
    Another way to add an image to a slide is to use the Pictures option in the Insert tab. Pictures embedded this way are automatically sized as well.

    A Microsoft Powerpoint is open with two slides. The second slide has been selected. There is a green box in the ribbon menu highlighting where the insert feature is.

    Clicking the Pictures button uses images stored on your computer. Clicking the Online Pictures button allows you to use an embedded search engine to use images directly from the internet. Note that the term pictures is used to represent really any graphic: it can be a photograph, an icon, or a graphic file. Older versions of Microsoft Office included something called clip art. Clip art was basically a graphic icon, such as the image shown below. This type of image can still be used and searched for using the Online Pictures option.

    Under the insert pictures feature a bing search for clip art has been entered. A bing search for clip art is open with 8 images of different clip art appearing.

    Contributors and Attributions

    CC licensed content, Original
    • Adding Images. Authored by: Shelli Carter. Provided by: Lumen Learning. License: CC BY: Attribution

    9.11: Images and Clip Art is shared under a CC BY license and was authored, remixed, and/or curated by LibreTexts.

    • Was this article helpful?